
This week we got a bunch of ice and things are quite dangerous around here today. We needed to clean up stuff enough for our local farm delivery tomorrow and it was super slippery out there.
Right now it is still sleeting or as my phone's weather app calls it, ice pellets. Ice pellets sting a bit after being pelted with them for a while.
After my son and I tackled the driveway, I am back inside.
We have been talking with a gaming friend in Texas who only gets 45 minutes of power every hour and a half.
Our prayers go out to all the people without power and or water across the globe. 🙏
Did you know it is snowing in Athens, Greece?
*************
So what do you do on an icy day...knit of course. lol
I was thinking about what I would write about this week as I was shoveling. The ice if nothing else, is very soothing as it falls. But I had to be very careful not to slip.
And then it came to me...slipping.
Slipping is something that we do all the time in knitting and it is totally safer than ice. 😀
Stitches can be slipped knitwise or purlwise with different results.
Usually, a pattern will denote which way to slip but if it doesn't you can usually sus out which way to slip.
Terminology
WYIF / WYIB
It is important to note that the working yarn placement is also very important to how a slip stitch is worked.
The yarn will either be WYIF - with the working yarn in the front or WYIB - with the working yarn in the back
Some patterns carry the yarn across the front when slipping to create a different sort of motif.
 |
| Gulls and Garter |
As you can see from the Gulls and Garter stitch pattern that the yarn has been carried across the front of the work to create this interesting motif.
Purlwise
Stitches slipped purlwise or tip-to-tip do not change at all. The front leg is still on the right-hand side of the stitch as normal stitch mounting dictates.
This is usually what is meant by sl 1.
To slip purlwise you insert the right-hand needle into the stitch on the left-hand needle as if to purl. Your working yarn can be in the front or the back of your work as the pattern dictates. The stitch is moved to the right-hand needle without working it.
Purlwise slipping is usually used in stitch patterns that will be worked in the next row.
Knitwise
Stitches slipped knitwise are changed. The front leg is now on the left-hand side of the stitch and the stitch is twisted.
Knitwise slipping is used in some stitch decreases such as the SSK (slip, slip, knit) or the SKP (slip, knit, pass the slipped stitch over [PSSO]).
These two examples are left-slanting decreases.
To slip knitwise you insert the right-hand needle into the stitch on the left-hand needle as if to knit. Your working yarn is in the back for the above-mentioned examples. The stitch is moved to the right-hand needle without working it.
Knitwise slipping is usually used in stitch patterns that will be worked on the same row that they are slipped on.
CDD / CDDP
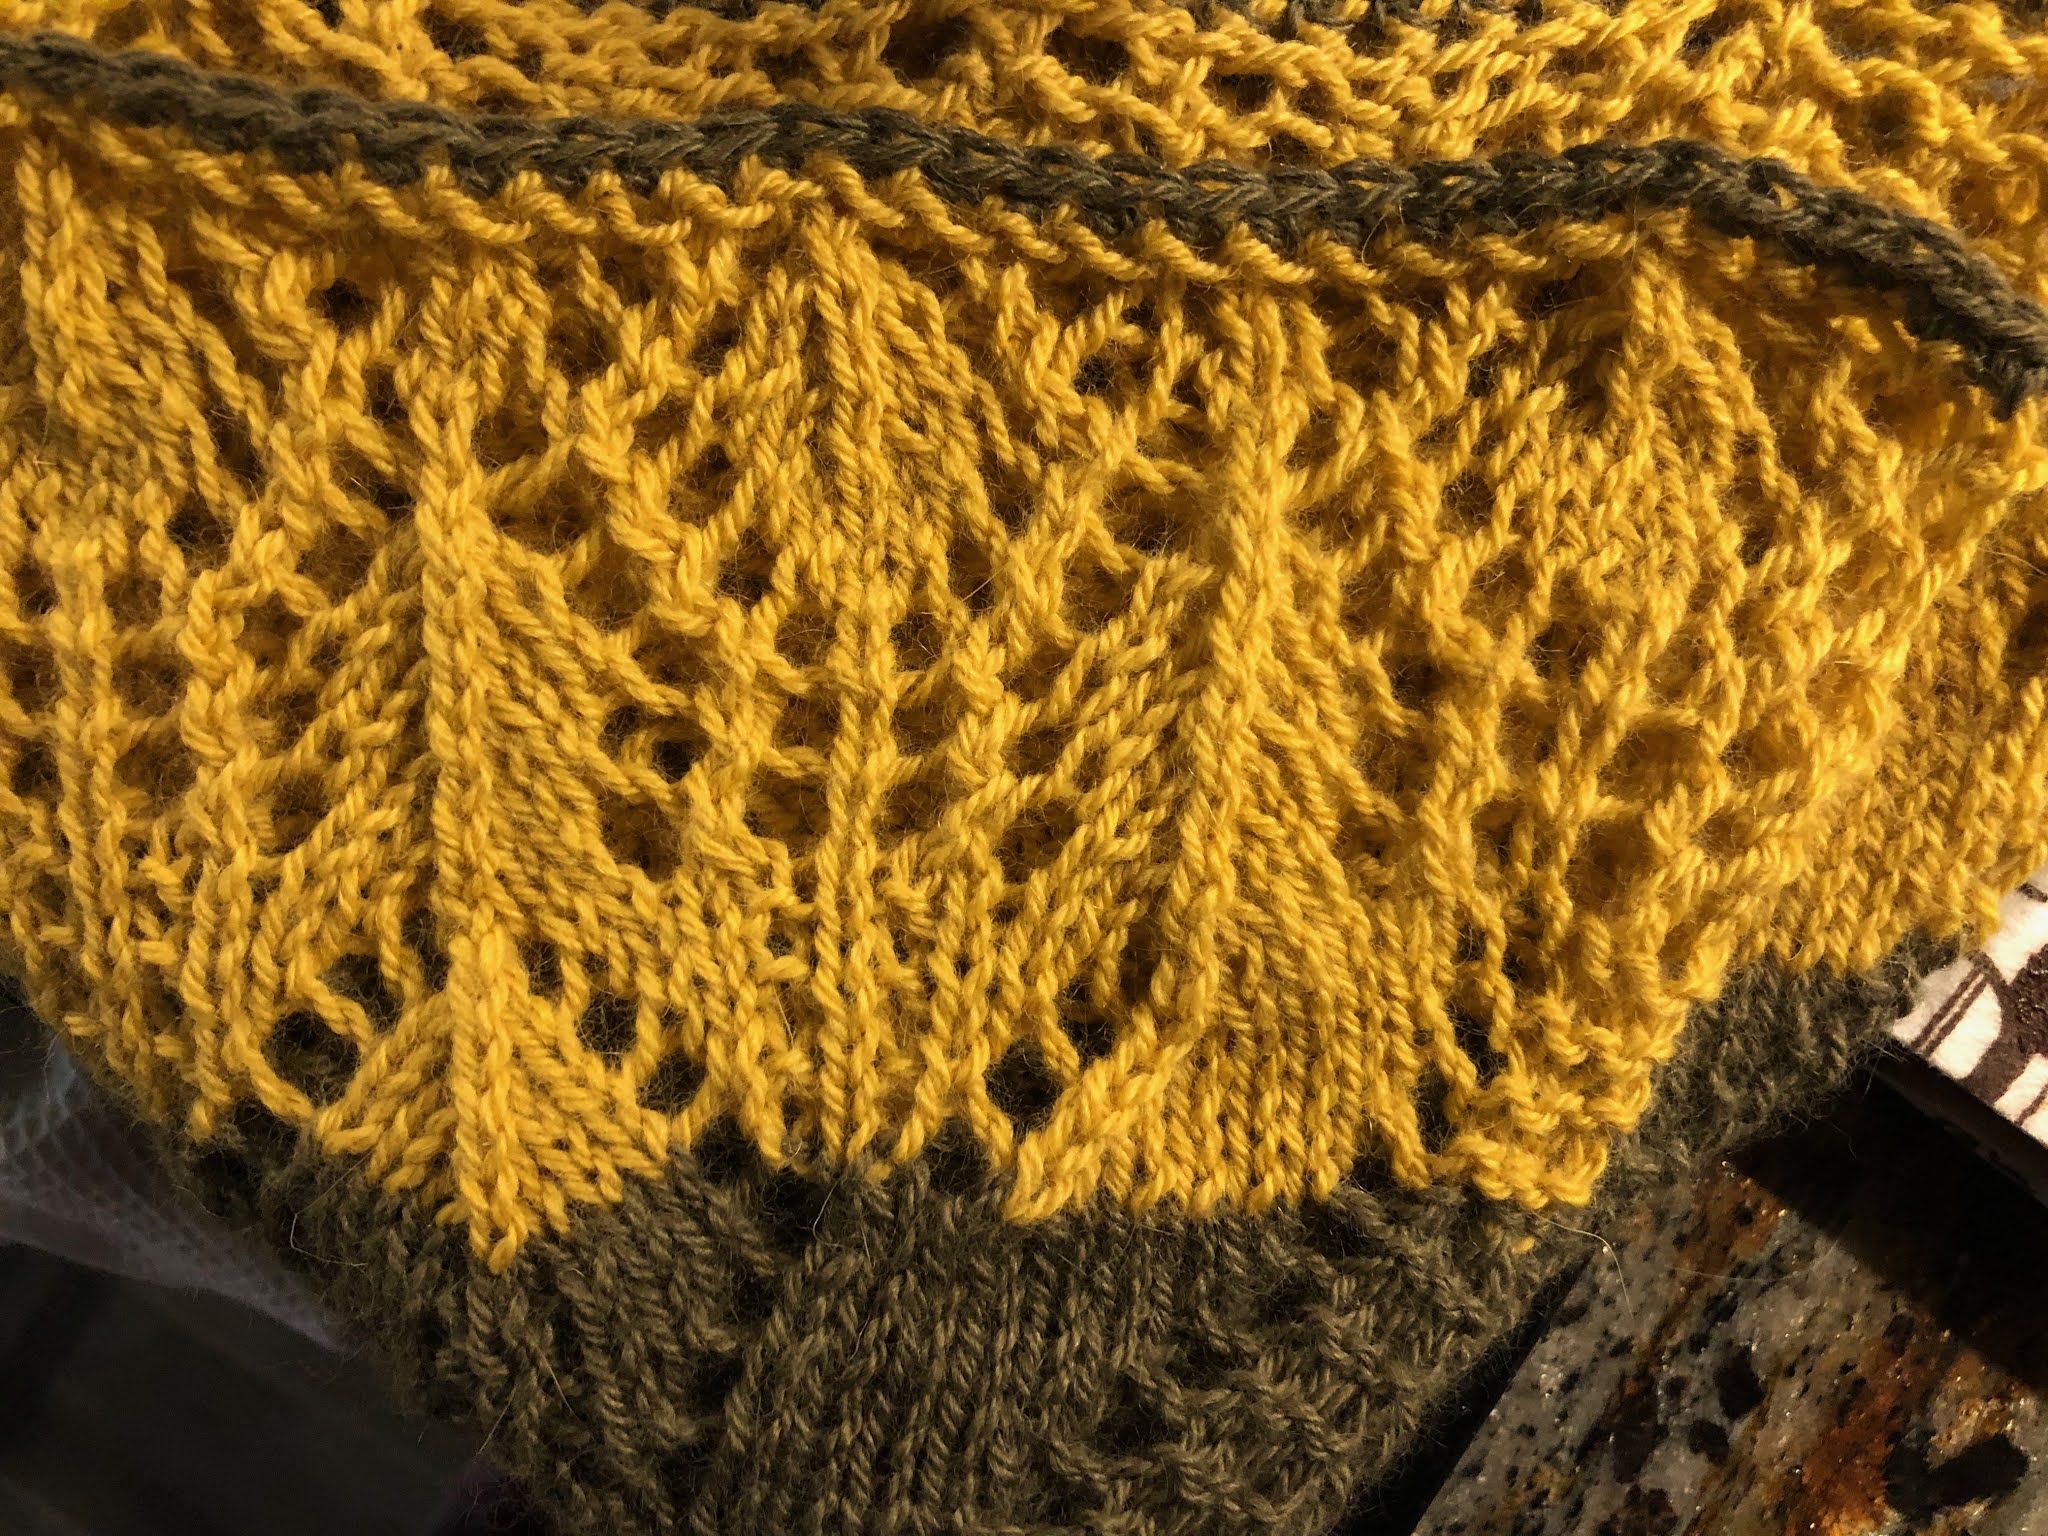 |
| the vertical lines going through the lace are using the CDD decrease |
In the case of a CDD or central double decrease, two stitches are slipped knitwise at the same time WYIB. This decrease as well as its sister decrease, the CDDP, does not slant in either direction and is vertically centered through the three stitches.
These stitches also go by S2KP2 and *SSPP2
* Note the Craft Yarn Council has a different version of how to do this stitch than I use, but recently when I submitted a pattern it seemed that this stitch had been revised to be more of an S2PP2, though this is my abbreviation for the process and is not used anywhere else. It seems that CDD and CDDP are considered the "terminology" used for these two stitches more often than not.
My two cents: from swatching the two versions SSPP2 and S2PP2 seem to pretty much end up with the same result.
CDD - sl2 stitches together knitwise, K1, pass the 2 slipped stitches over
In a CDDP or central double decrease purl, two stitches are slipped through the back loops purlwise at the same time WYIF.
TBL
To knit through the back loop (tbl) you insert the right-hand needle through the back of a stitch on the left-hand needle from right to left.
A purlwise version (p tbl) is achieved by inserting the right-hand needle through the back of the stitch on the left-hand needle from left to right. It is a bit tricky at first to get the hang of IMHO.
CDDP - sl 2 stitches together purlwise tbl, P1, pass the 2 slipped stitches over
Some Slip Stitch Patterns
Linen Stitch
 |
| linen stitch |
Linen stitch uses slipped stitches to make a woven pattern. The stitches in linen stitch are slipped purlwise with the yarn in different positions. The wraps create the woven type fabric.
The pattern for one color linen stitch is as follows (I included a slip stitch edge in the pattern):
Row 1: sl 1 WYIB, K1, *sl 1 WYIF, K1* repeat ** until the end
Row 2: sl 1 WYIF, P1, *sl 1 WYIB, P1* repeat ** until the end
Brioche
 |
| here is an example of one and two-color brioche |
Brioche is a two-sided squishy fabric that uses slipped stitches, yarn overs, and a bunch of other specially named stitches. You can read about brioche in this past post.
Mosaic Knitting |
| this sweater uses slipped stitches to create a motif of cats |
Mosaic knitting is knitting with two or more colors to create a motif. Mosaic knitting often uses high contrast colors to make the design really shine.
Mosaic knitting provides a nice foray into colorwork as you only knit with one color at a time while slipping the other color. Each color is used for two rows.
All rows are slipped purlwise. The knit rows are slipped WYIB, the purl rows are slipped WYIF. The purl row will mirror the knit row in yarn color placement.
Most mosaic patterns are worked from charts.
Slip Stitch Edging
A slip stitch edge can really change the way your finished item looks and it is super simple.
Here are two ways to work a slip stitch edge:
Slipping Every Row
In this method, you slip the first stitch of every row purlwise but the working yarn is either held in the front or the back depending on the fabric you are creating.
If you are using a knit garter stitch edge where every stitch is knit, you would sl 1, WYIF.
If you are using a purl garter stitch edge where every stitch is purled, you would sl 1 WYIB.
If you have a stockinette stitch edge where the first row is knit and the second is purled, you would work the knit side, sl 1 WYIB, and then the purl side sl 1, WYIF.
If you have a reverse stockinette stitch edge where the first row is purled and the second is knit, you would work the purl side, sl 1 WYIF, and then the knit side sl 1 WYIB.
I like this method because it is easy to remember to slip each row. It does sometimes get confusing remembering where the working yarn is since it changes row to row.
Slipping Two Stitches Every Other Row
In this method, you slip the first and last stitch of every row purlwise but the working yarn can be held in the front or the back depending on the fabric you are creating. On the second row, you will not slip any stitches.
If you are using a knit garter stitch edge where every stitch is knit, you would slip the first and last stitches WYIF.
If you are using a purl garter stitch edge where every stitch is purled, you would slip the first and last stitches WYIB.
If you have a stockinette stitch edge where the first row is knit and the second is purled then you would slip the first and last stitches WYIB.
If you have a reverse stockinette stitch edge where the first row is purled and the second is knit then you would slip the first and last stitches WYIF.
I like this method because you have one side that you are slipping on and you can mark it with a locking stitch marker or piece of string to act as a reminder. Also, the working yarn will be in the same position so it is easy to keep track of.
What Happens When the Slipping Slips Up? (say that 10 times fast)
Mistakes happen to everyone. The first thing I always tell students is to breathe, then put their work down, and finally make a plan for recovery.
 |
| That horizontal bar three stitches down is a mistake |
You could be blissfully knitting away and when you get to your edge it looks like this. Somewhere you should have slipped and didn't or slipped in the wrong direction but that is okay.
The thing about this edge is that it is mostly separate from your work and is easy to fix.
So let's make a recovery plan.
You want to start by removing the last stitch off of the needle. Let it drop and take out the working yarn, it is not going anywhere.
 |
| the three unraveled edging slip stitches |
Now your slipped stitches are free to work with. Unravel each carefully even though they are not going anywhere.
Each stitch is inside the last. Pull out each stitch until you have undone the mis-slipped stitch.
Then re-ladder then up with a crochet hook. If you never have done that - here - is a post on re-laddering.
Put the resulting loop on your left-hand needle and rework it.
Ta-da!
Happy Slipping!
****************************
If you have any questions or comments on this or any of my other tutorials, please leave me a comment. **************************** Safe socially-distanced hugs 🤗 May you be safe. May your loved ones be safe. 🙏 *************************** Sending love and light to everyone facing discrimination, hate, prejudice, inequality, or racism. |
No comments:
Post a Comment